
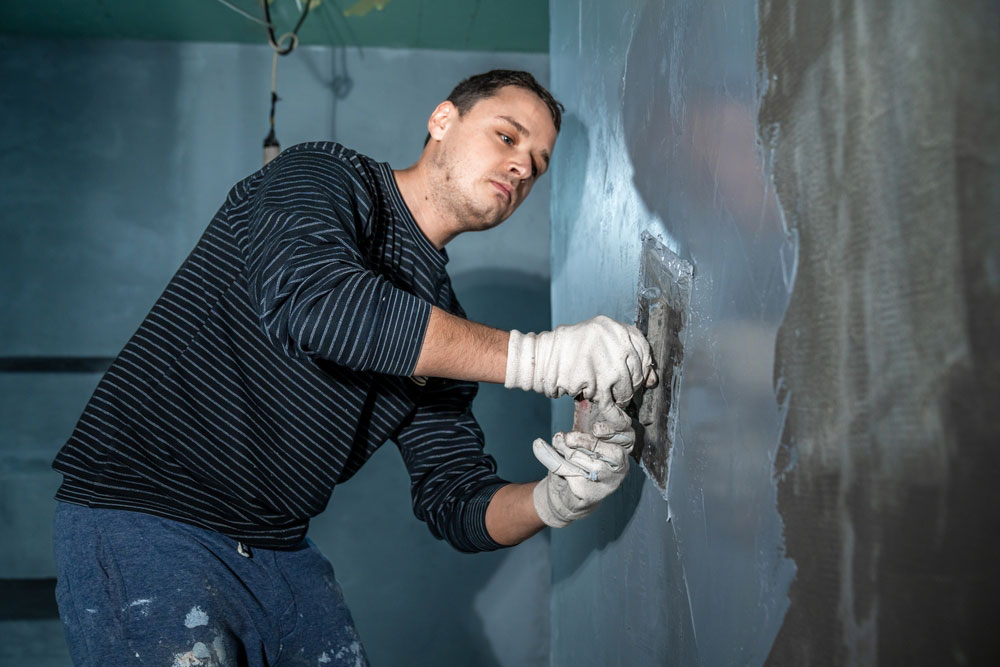
Transforming a below-grade basement into a fully finished living space, home theater, or guest suite represents a significant financial investment in your property. However, if a sudden high water table or hidden foundation crack begins to introduce moisture behind those beautifully painted walls, that investment is placed in immediate jeopardy.
Many property owners mistakenly believe that installing a comprehensive interior drainage system requires completely gutting and destroying their finished rooms. Fortunately, specialized restoration contractors can utilize strategic, localized installation techniques to safeguard your lower level with minimal disruption to your existing finishes.
Utilizing a Strategic Lower Drywall Cut
To access the underlying concrete foundation wall without tearing down entire rooms, technicians perform a precise cut along the bottom perimeter of the walls. This targeted approach preserves the vast majority of your finished vertical space while exposing the exact area needed for the waterproofing track.
- Crews remove the decorative baseboard molding carefully so it can be reinstalled after the project concludes.
- A straight horizontal cut is made roughly twelve to eighteen inches above the floor line to remove only the lowest strip of drywall.
- Any damp or compromised insulation tucked behind this lower section is cleared out to prepare the masonry for a new barrier.
This surgical method ensures that all structural wall framing remains completely untouched while providing ample room for the installation team to operate.
Executing a Targeted Perimeter Floor Trench
The cornerstone of an interior waterproofing system is a sub-floor drainage channel, which requires removing a narrow strip of concrete along the edge of the room. Contractors carefully protect your existing flooring by pulling it back or cutting it precisely where the trench must be excavated.
- Carpeting can be untacked and rolled back out of harm’s way, while hard surfaces like laminate or tile are cut cleanly with dustless masonry saws.
- Technicians break through a twelve-inch wide strip of the concrete slab directly adjacent to the exposed foundation footing.
- Soil and debris are excavated from the trench into sealed containers to prevent any messy buildup inside your living area.
Once the perforated drainage pipe is nestled into the trench and surrounded by washed stone, the concrete is repoured perfectly flush with the original floor.
Installing the Hidden Vapor Barrier Wall Liner
Once the lower foundation wall is exposed, a heavy-duty, impermeable plastic vapor barrier is tucked behind the remaining drywall. This specialized liner catches any future moisture seepage, forcing its way through the concrete blocks and channels it directly down into the new sub-floor drain.
- The top edge of the flexible membrane is securely fastened to the masonry wall behind the intact upper drywall line.
- The bottom edge of the liner drapes directly into the excavated perimeter trench to ensure a seamless water path.
- This absolute physical barrier stops damp earthy odors and invisible water vapor from migrating into your breathable indoor air supply.
Tucking this hidden shield behind your existing finishes guarantees that future foundation leaks can never touch your wooden framing or drywall.
Placing the Sealed Sump Pump System Discretely
An interior drainage network relies on a central collection basin and a submersible pump to lift and discharge collected groundwater out of the home. Homeowners can work with installers to position this essential mechanical asset inside an inconspicuous location, such as a utility closet or storage room.
- The sump basin is installed entirely beneath the floor level, equipped with a flush, rubber-sealed, airtight lid that prevents evaporation.
- Discharge plumbing pipes are routed discreetly through existing utility chases or out the nearest exterior rim joist.
- One-way check valves and backup battery systems are integrated quietly to ensure continuous operation during severe power outages.
Hiding the mechanical core of the system inside a closet preserves the clean visual lines and total quietness of your main finished entertainment spaces.
Completing the Seamless Wall Patch and Trim Restoration
After the sub-floor concrete has cured completely and the drainage system is fully operational, the final phase focuses on restoring the aesthetics of your living space. The lower wall gap is closed up with moisture-resistant materials, leaving the room looking exactly as it did before the project started.
- Installers fit a new strip of mold-resistant drywall into the lower opening, tape the seam, and apply a smooth coat of joint compound.
- The texture of the repaired section is carefully matched to the upper wall before a fresh coat of matching interior paint is applied.
- The original baseboard molding is reattached to the bottom of the wall, completely hiding the location of the strategic cut.
This meticulous finishing process ensures that your basement is fully protected against flooding without leaving behind any visible signs of construction work.
Restore Your Beautiful Basement Living Space Safely
Accepting a damp or leaking finished basement out of fear of a messy demolition process is a compromise that eventually destroys your property equity. Partnering with specialized waterproofing technicians allows you to install a robust, permanent drainage defense network without sacrificing your hard-earned remodeling work.
Securing your home from the inside gives your family total confidence to enjoy your lower-level space through every heavy rainstorm. Prioritizing this clean, precise interior upgrade eliminates hidden mold risks, preserves your finished rooms, and delivers absolute structural peace of mind for the long haul.